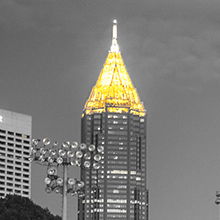
Most people spend a good amount of time each day looking at photos of different subjects and many spend an equally large amount of time making photos as well. Whether your interest lies in landscape, street, portrait or any other type of photography you can think of, the vast majority of the images that are made and posted on the internet are color images. While it is true that color can be an important part of the scene that we are trying to capture, black and white, or grayscale images will always keep its place among photography enthusiasts for different personal reasons.
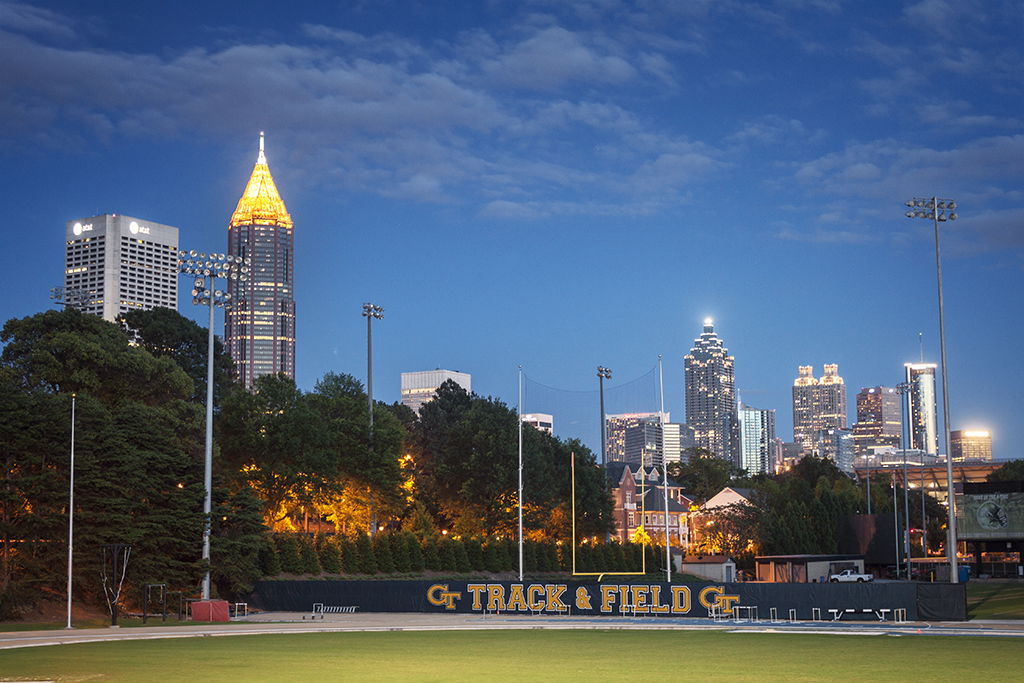
Take for instance the following image of the skyline of Atlanta, USA.
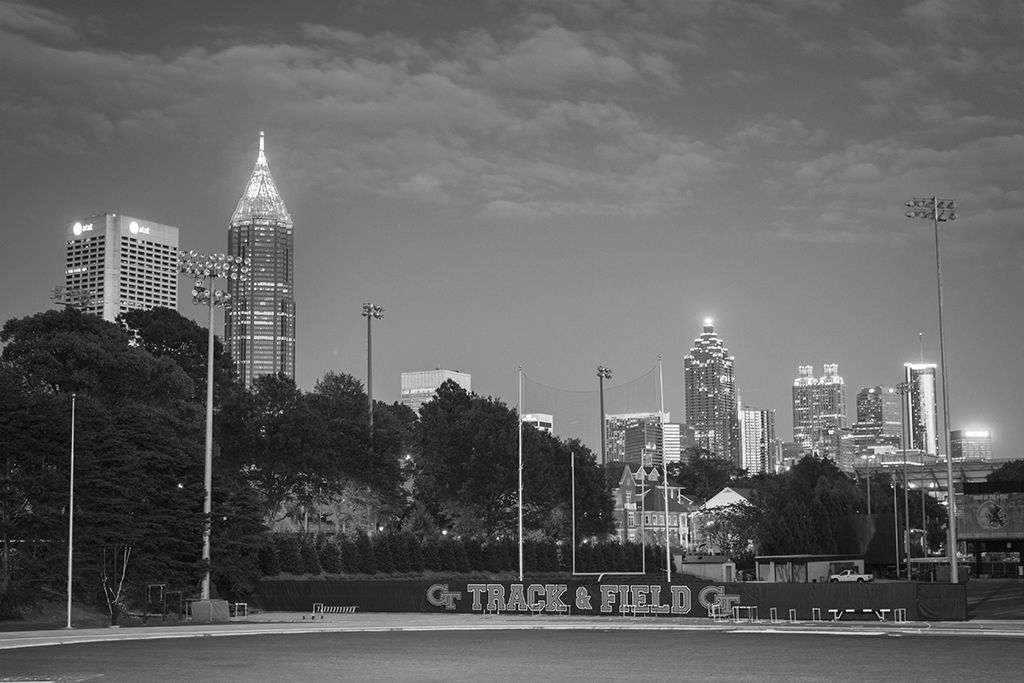
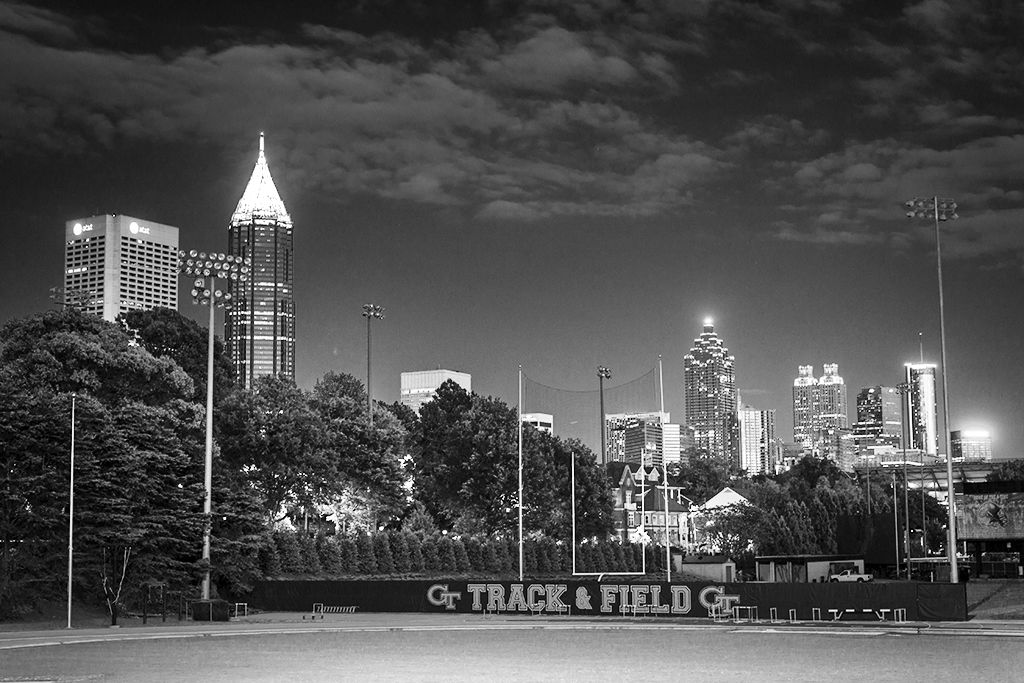
There are two straightforward ways to convert an image to black and white in Photoshop. The first one is to bring the saturation to a minimum by means of a ‘Hue/Saturation’ adjustment layer. The image below shows the result of this process.
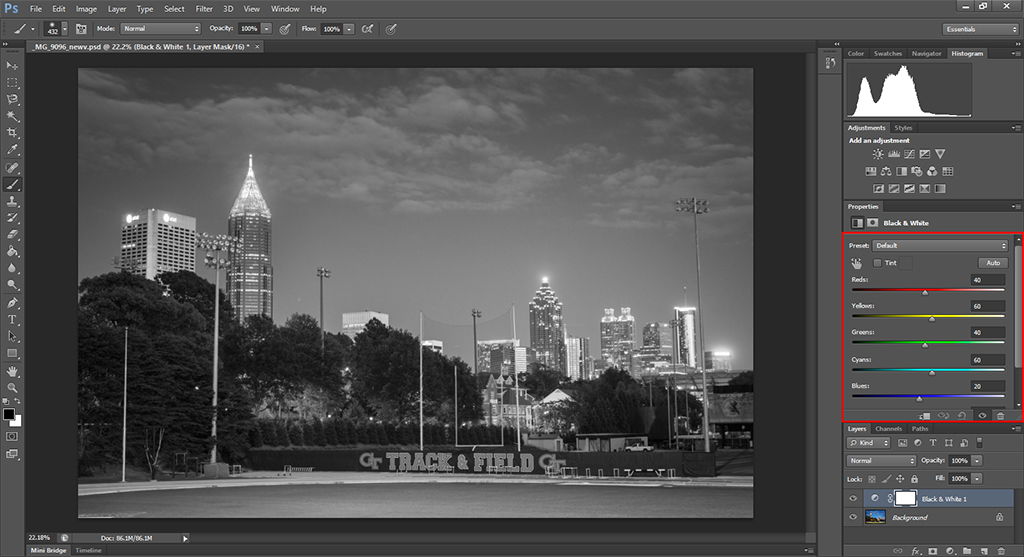
Now let’s remove the ‘Hue/Saturation’ layer and create a ‘Black and White’ one instead. As you can see in the following image, the newly created adjustment layers (inside the red rectangle) contains several sliders, each corresponding to a different color (Reds, Yellows, Greens, Cyans, Blues and Magentas).
However, increasing the contrast tends to produce dark images and that is why it is a good idea to always make contrast adjustments together with brightness adjustments. For this, simply create a ‘Brightness/Contrast’ layer and alternatively move both sliders until you are happy with the result.
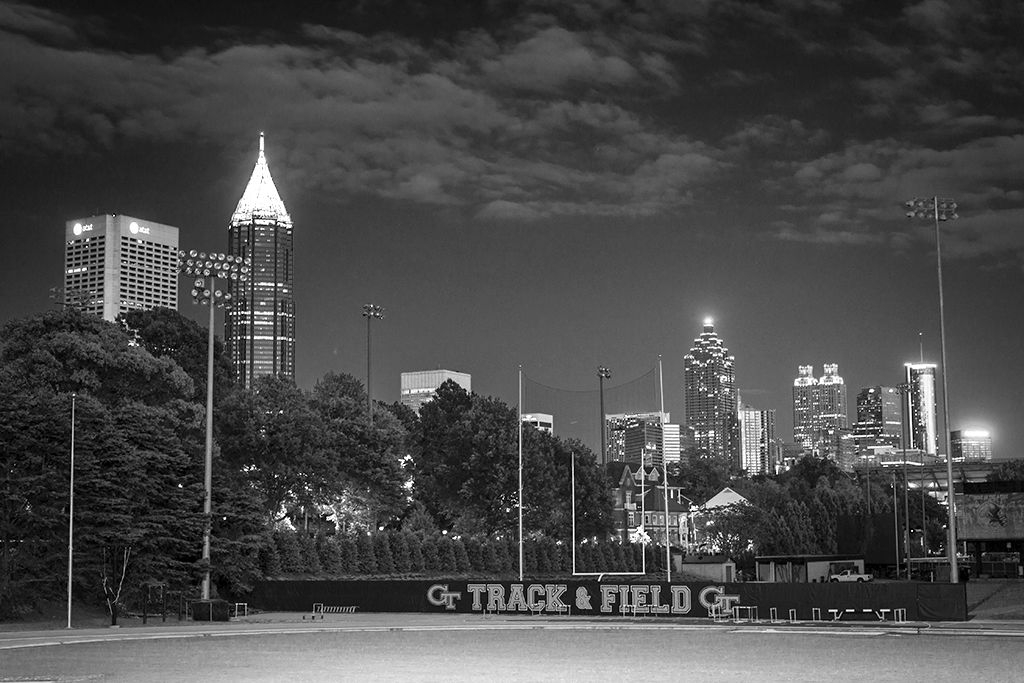
Next, we create another ‘Hue/Saturation’ layer and bring the saturation to a minimum while on the ‘Master’ channel. This will of course create a completely black and white image. To recover the yellow in the areas we want, we simply mask out the adjustment layer by painting with a black brush with a 100 % opacity. Since all the surrounding areas were already converted to black and white with the previous adjustment layer, we don’t even need to be precise when using the brush tool.
Leave a Reply